
Thursday, February 21, 2013
Random Stuff
This section is for posts that don't really fit in other post areas, such as quick modifications or random photos
Sunday, September 23, 2012
HPI Blitz Ford Raptor Body

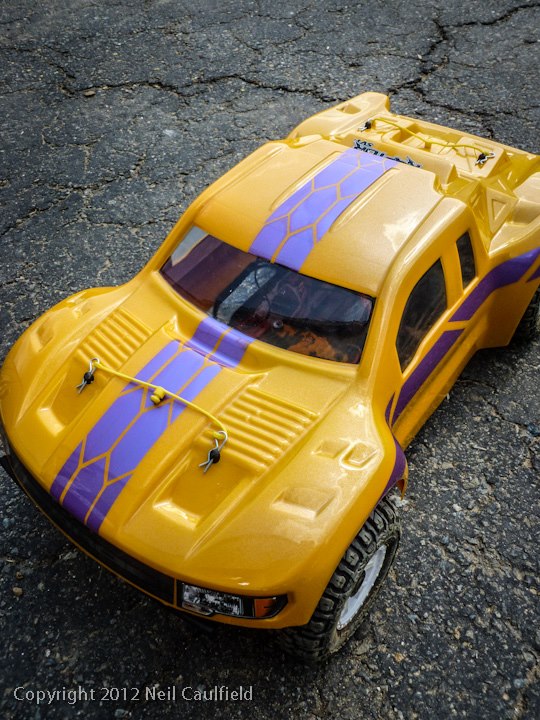

Used vinyl cutouts for paint masks to make the hexagon shapes.
Thursday, March 29, 2012
Custom Painted Bodies
Painting RC bodies can be a bit of a challenge sometimes, especially since you have to work backwards. Since you are painting from the inside, any colors you want to show on top have to be painted first, or masked first and then painted after the other colors have been laid down. Another challenge is that colors behind colors will show, so you have to paint darker colors first. If you try to do a white body, then unmask areas and spray the paint behind the white, your body will show shading where the black paint backs the white.
This page shows some of my RC bodies I have painted. Some of the pictures show the bodies in use, and therefore will show wear and cosmetic damage.
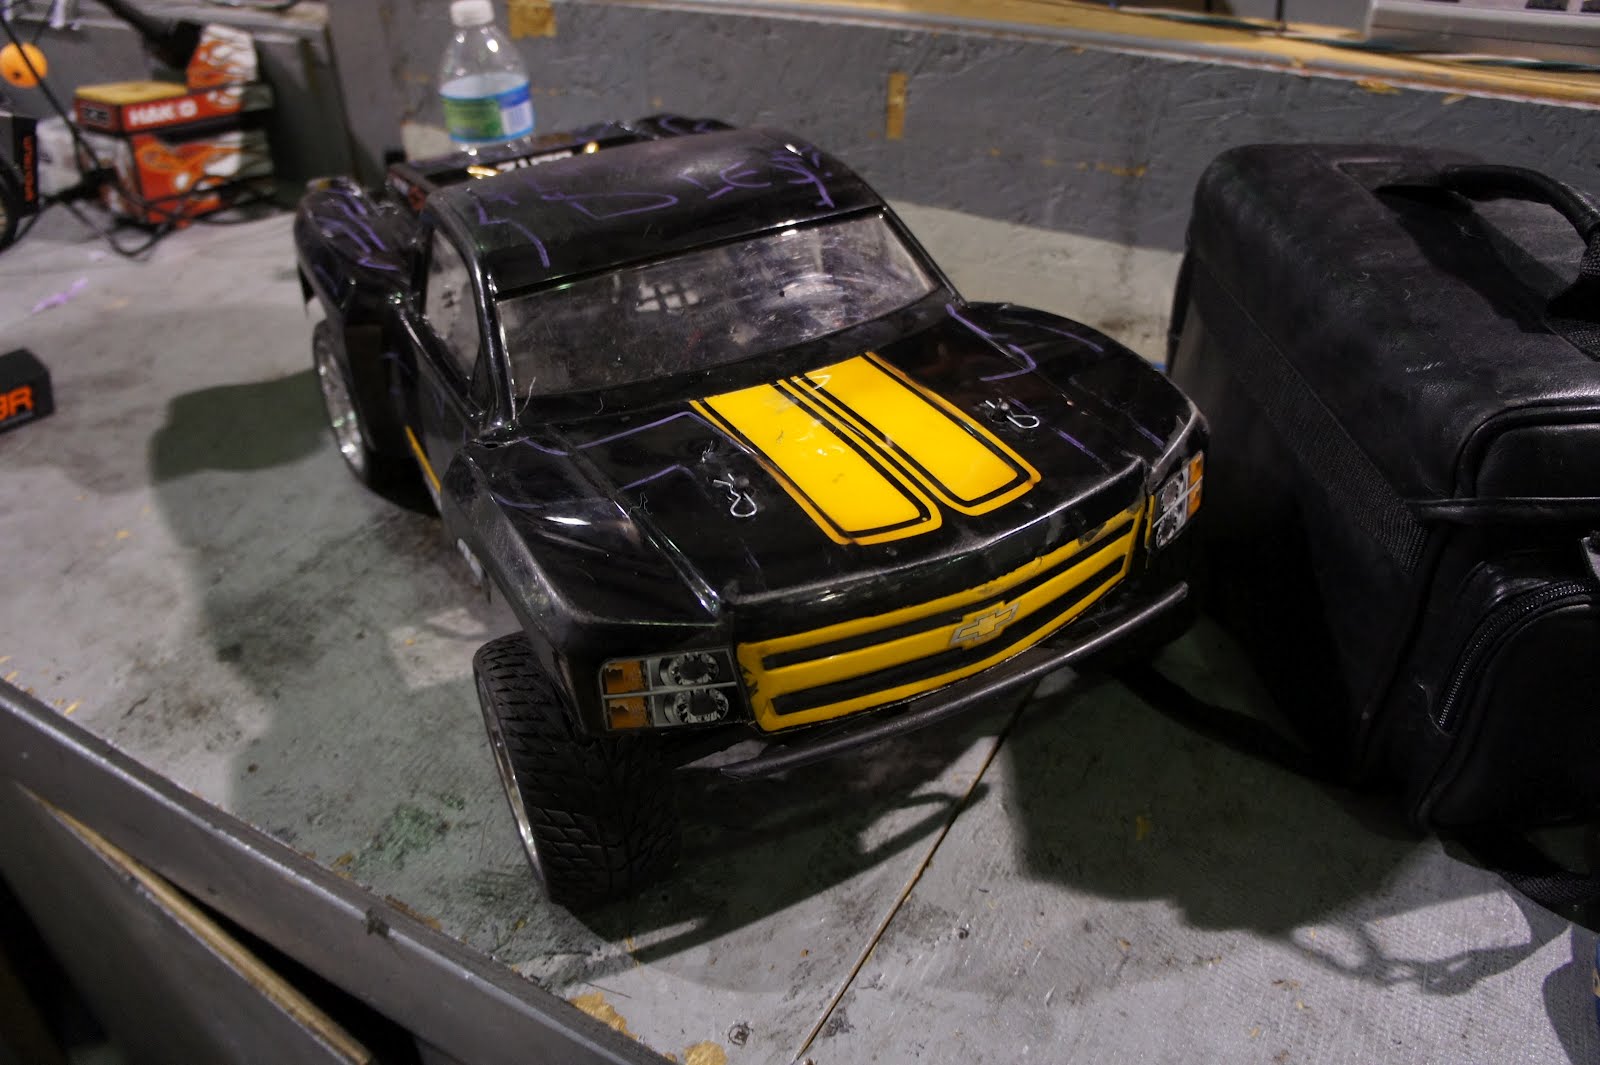
This 2009 Silverado body was painted in June 2010, and was painted using 2 of my favorite colors, black and gold-yellow. The body is still functional almost 2 years later but is badly damaged.
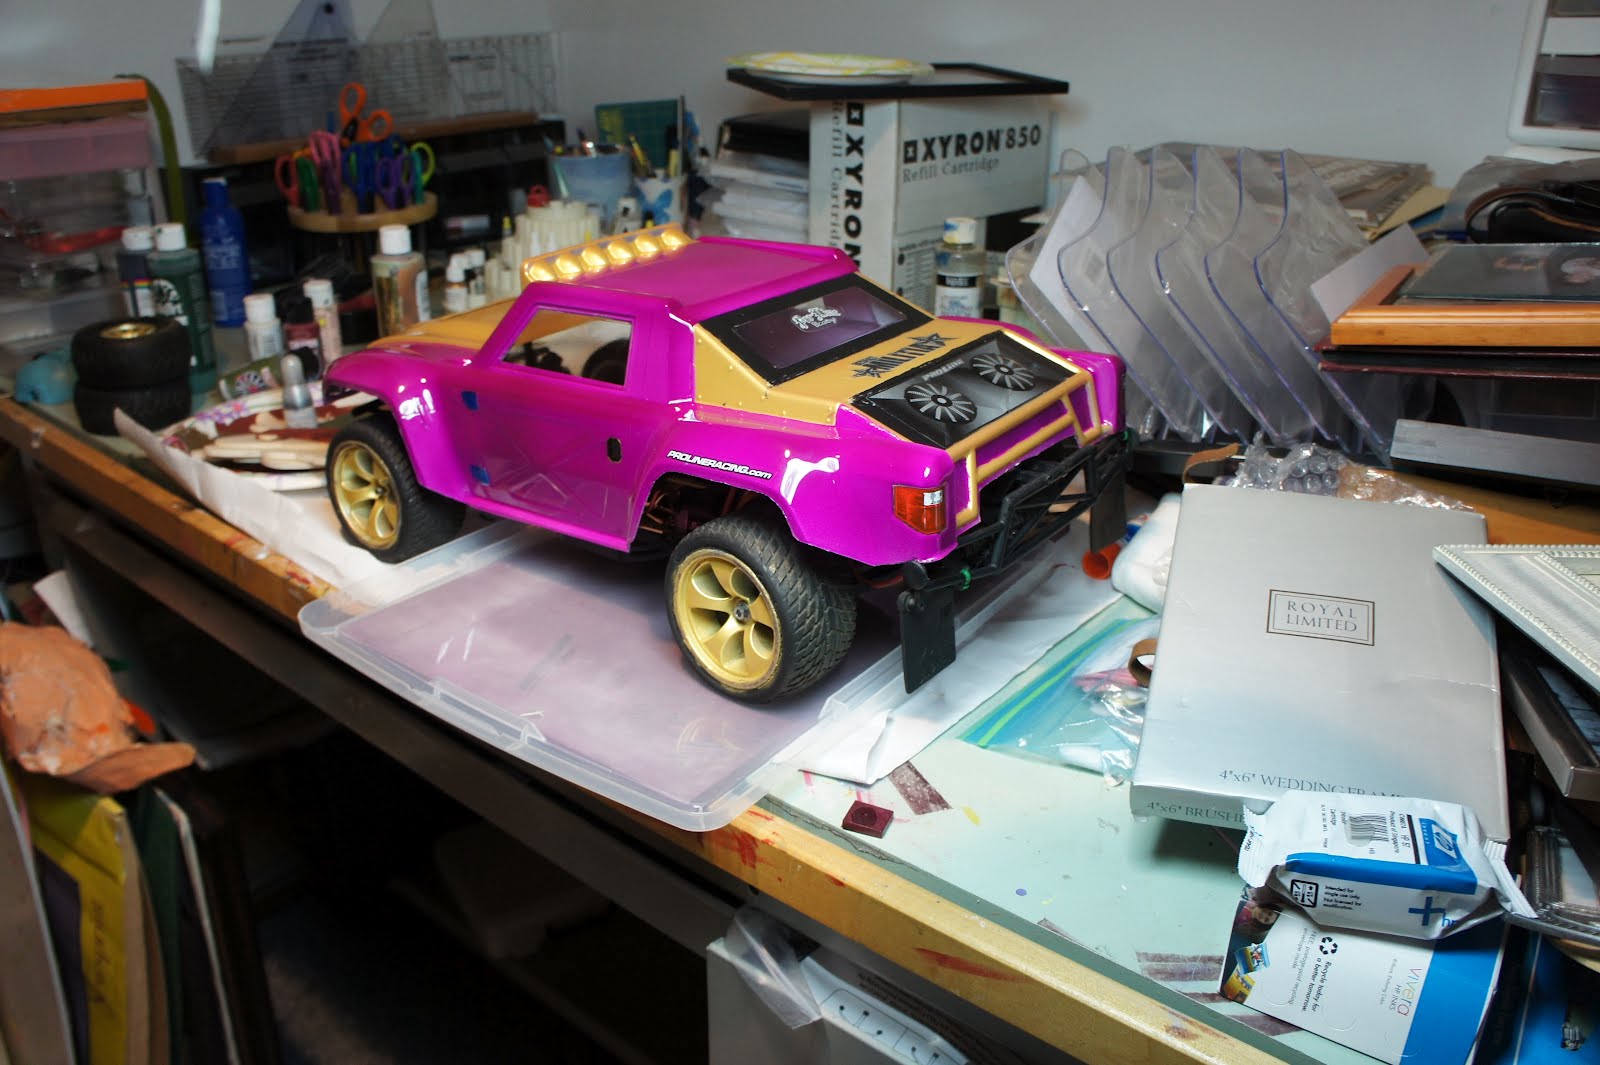
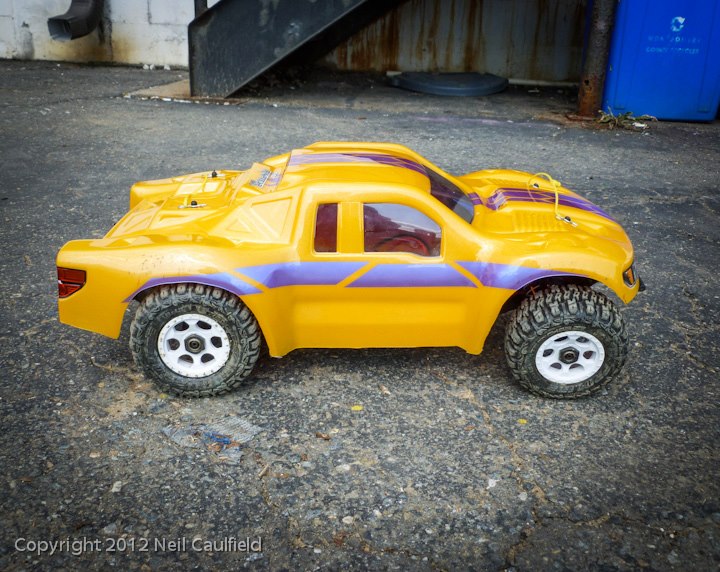
This hummer knockoff body was painted in December 2010 into January 2011. Using gold and purple (purple is another one of my favorite colors), I made this body. I didn't go with the yellow for the accents because it probably would have made it look too toy like, and I was going for a more 'bling' look.
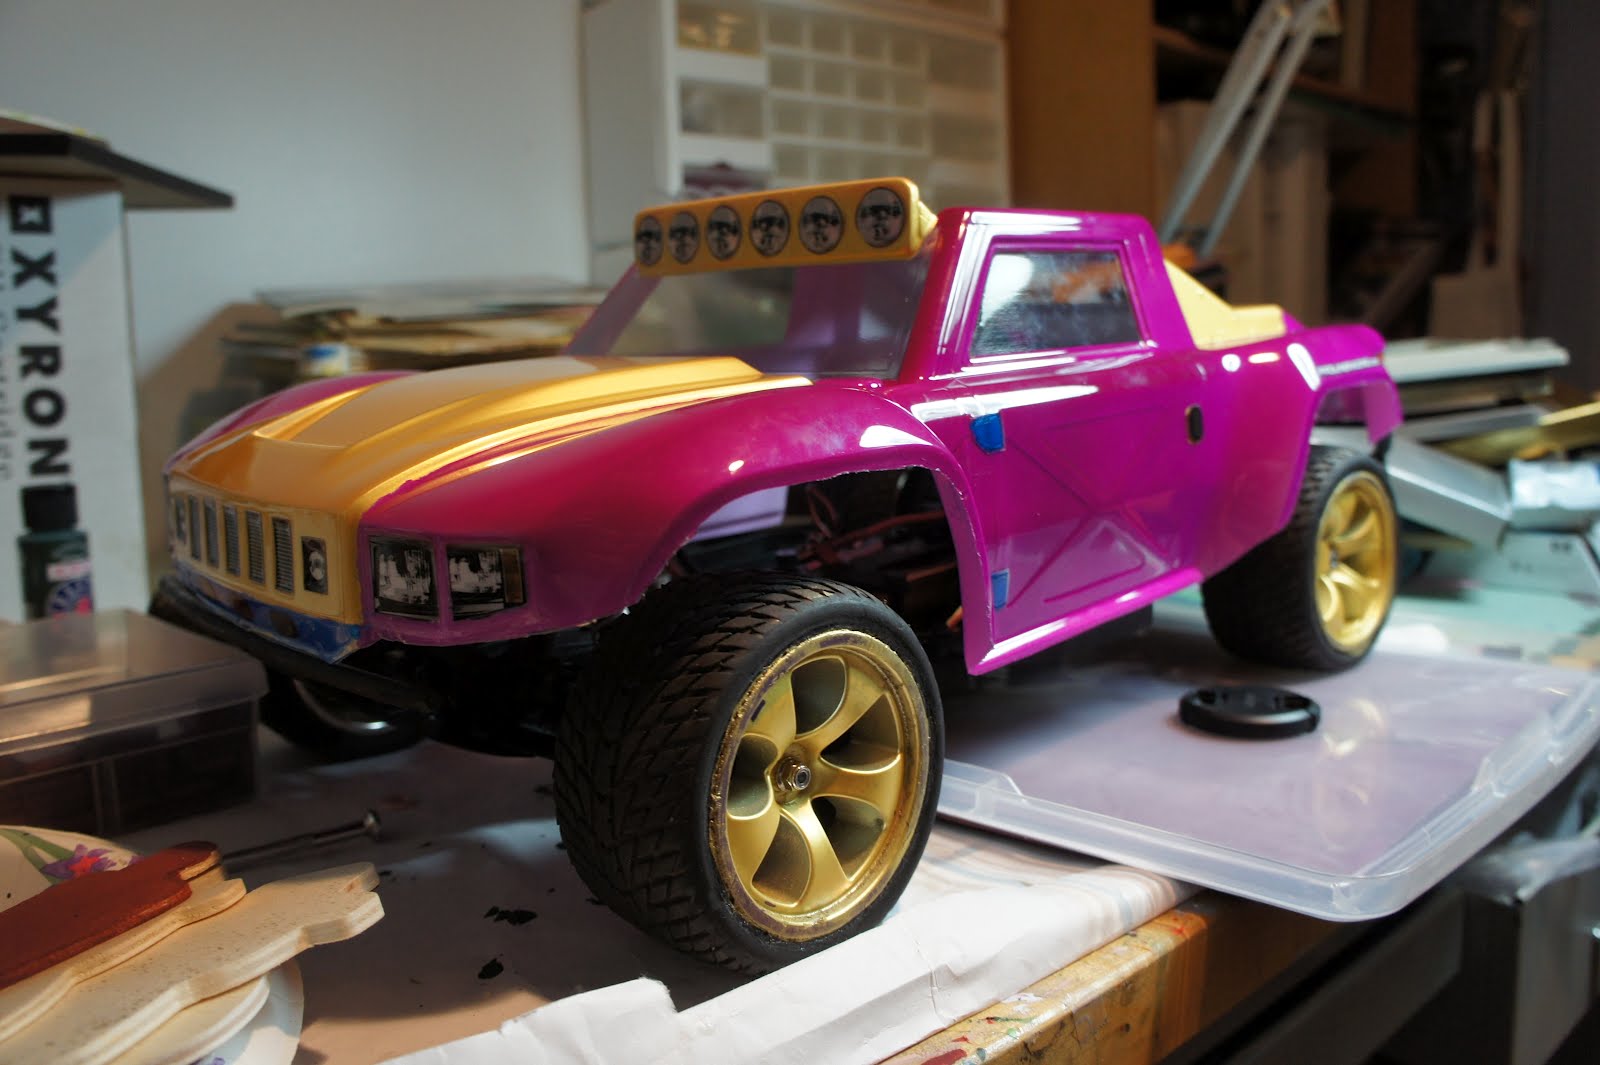
I also painted up a set of street wheels to match the paint on the body, however these tires had no gain in performance, and actually had really poor traction compared to other tires of the same size.
Below are some pictures of the painting process of the Coakley Williams RC Short Course body

Sometimes you can use regular paper to mask off areas you don't want to paint

The completed paint job and vinyl application. The letters on this particular body were made of vinyl, instead of painted in, because masking the small letters would have been a challenge.

The Coakley Williams Construction body was painted in September or October 2011, and was painted up to resemble a work pickup truck that the company uses for their field workers. Coakley Williams is a construction company located in MD for those unsure of what it is.

Here is a picture from when I replaced the wheels with newer and better parts

This orange RC body was painted in the fall of 2011. It was only used for a short while, as it got sold in an online auction with a truck I was no longer using. The colors kind of resemble a buffalo wing. I was trying to get a difficult to achieve color using multiple shades of yellow and orange, and unfortunately, it came out too dark, however my next body I think I will have figured out how to successfully obtain the color I am looking for.
March 2012:

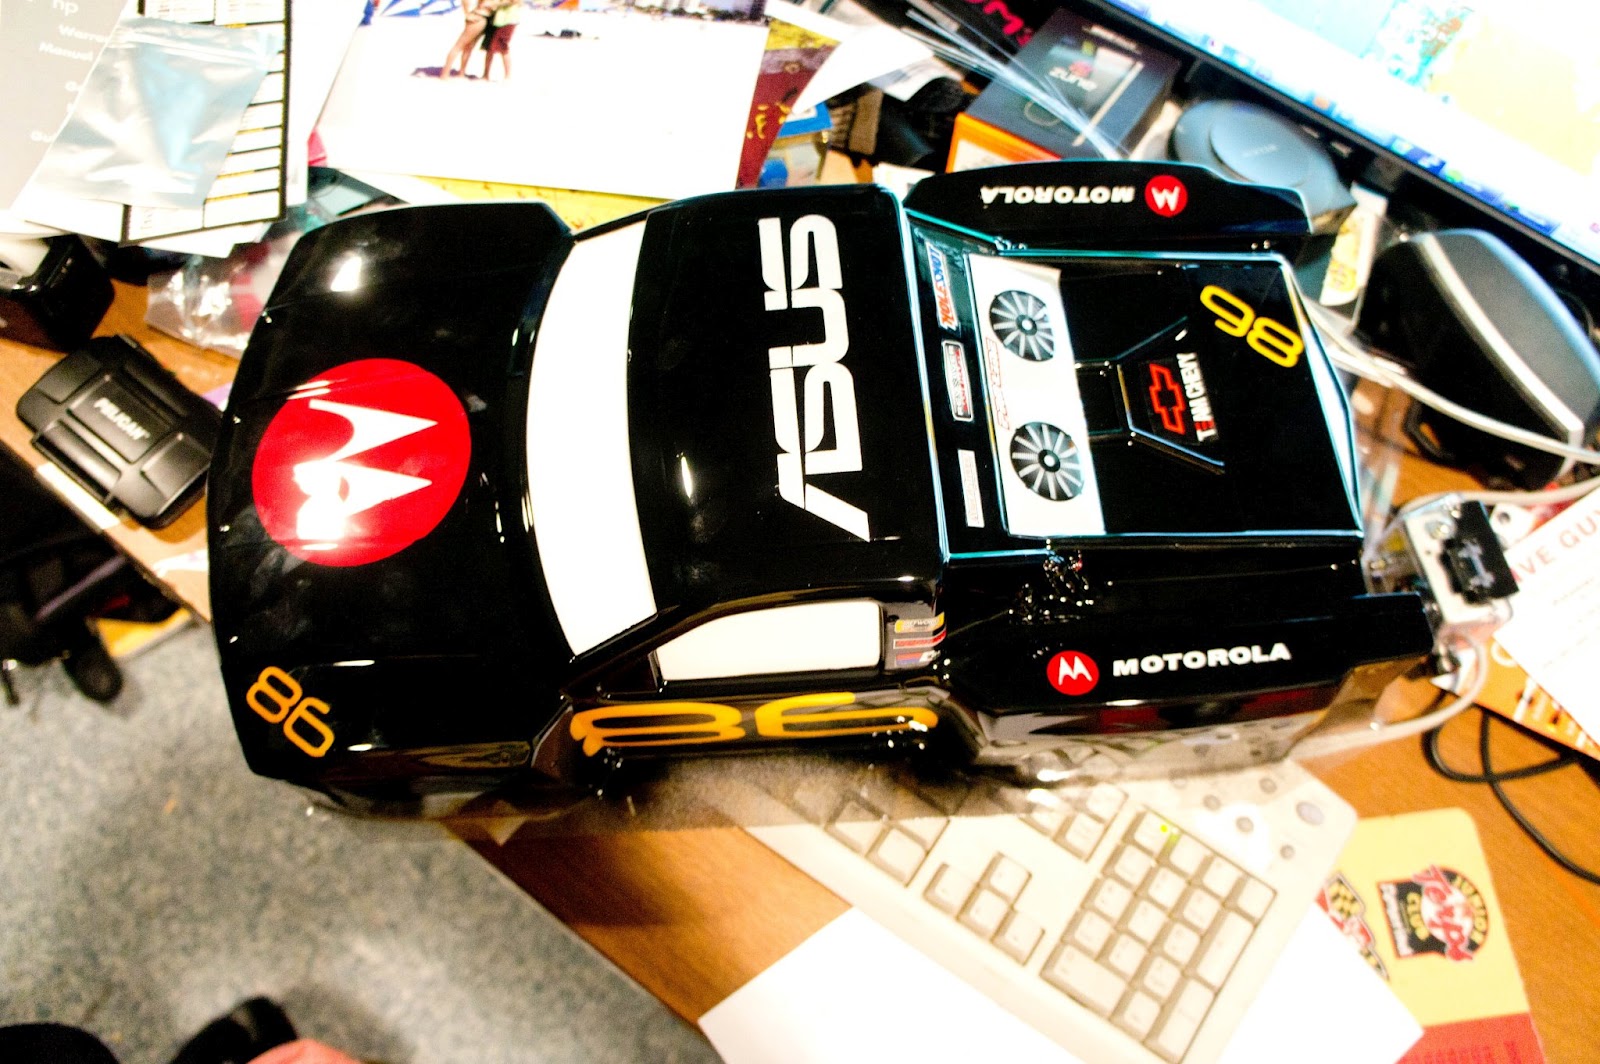
Another 2009 Silverado body, but with more vinyls, particularly Motorola, Asus and the number 86. This is the first body I have painted to use more than 3 colors and more than 2 masks
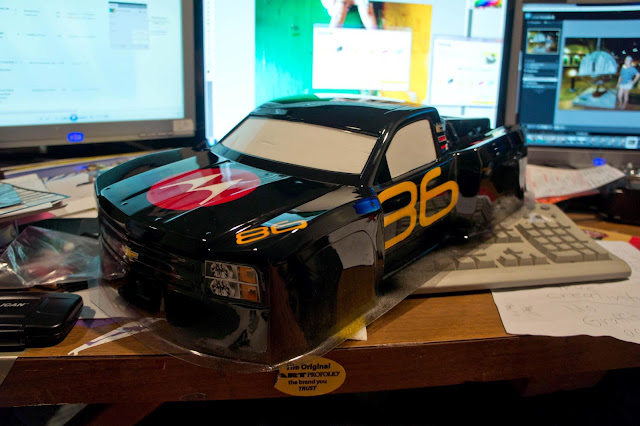 I still have yet to cut it out and mount it on the RC, but all decals have been applied
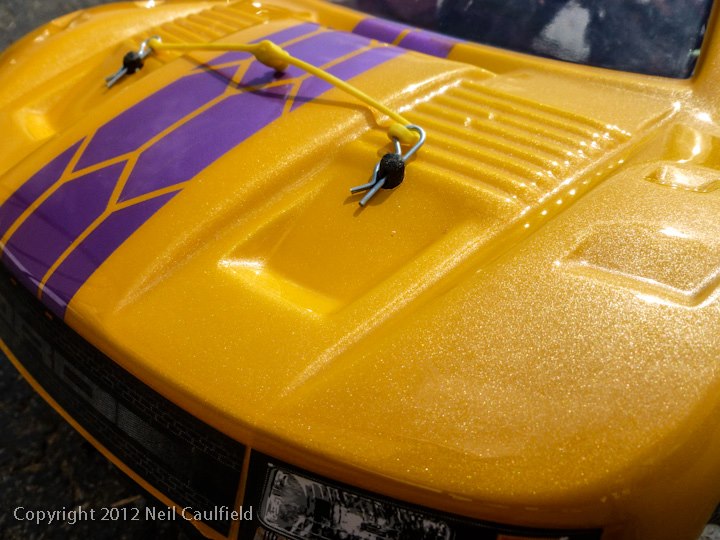
 Trying to achieve a specific color. Previously, I painted a Ford Raptor body, which is pictured above, where I tried to achieve the same specific color. Unfortunately, I got a very similar firey orange color, instead of the candy metallic yellow I am trying to get. It is slightly less orange but is now lacking saturation. The color also has a small hint of a metallic pearly pinkish orange, which only shows up when light hits it at a certain angle. It will probably be easier to achieve the color with airbrush paints, since colors can be precisely mixed to certain ratios.
March 2012:
Another 2009 Silverado body, but with more vinyls, particularly Motorola, Asus and the number 86. This is the first body I have painted to use more than 3 colors and more than 2 masks


Wednesday, February 29, 2012
The Ultimate FPV (First Person View) Project
In an attempt to capture aerial photo and video, me and a group of friends are working with materials we mostly have on hand, along with some supplies specifically ordered for this project.


Next, another piece of metal is formed to hold a servo up to the rotary gear, along with a gear of its own to create a roatational point for this camera mount

Although it has been done before, we are tryin
g it out for ourselves, with the ultimate goal of attaching a high end SLR camera to a radio controlled aircraft. So far we have successfully gotten low res images with a Motorola Droid using an Android app called IP Camera, wh
ich allows you to view the camera live over a wifi network and take up to 5 MP images thro
ugh the browser. unfortunately, the slow shutter speed of the camera, and grainy image results has left us looking for better alternatives, especially for video.
This page will show you some of the ideas we have come up with, as well as our progress in assembling this project into a working system.
The early designs:
It all starts with a broken computer (particularly the HP M490 Media Center, the biggest lemon of its time), and some guesstimations on how to cut it up (the black sharpie lines)
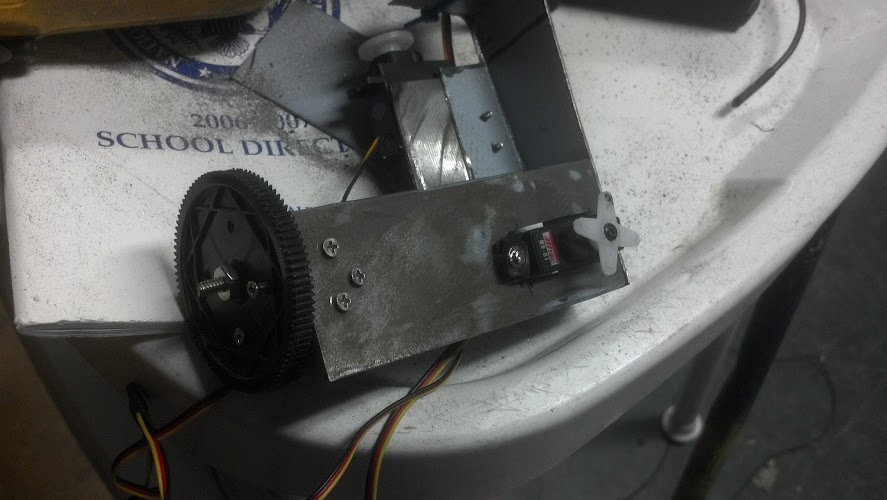
Believe it or not, this is part of the same piece of metal bent into 90 degree shapes with servos and spur gear added.
Next, another piece of metal is formed to hold a servo up to the rotary gear, along with a gear of its own to create a roatational point for this camera mount
Subscribe to:
Posts (Atom)